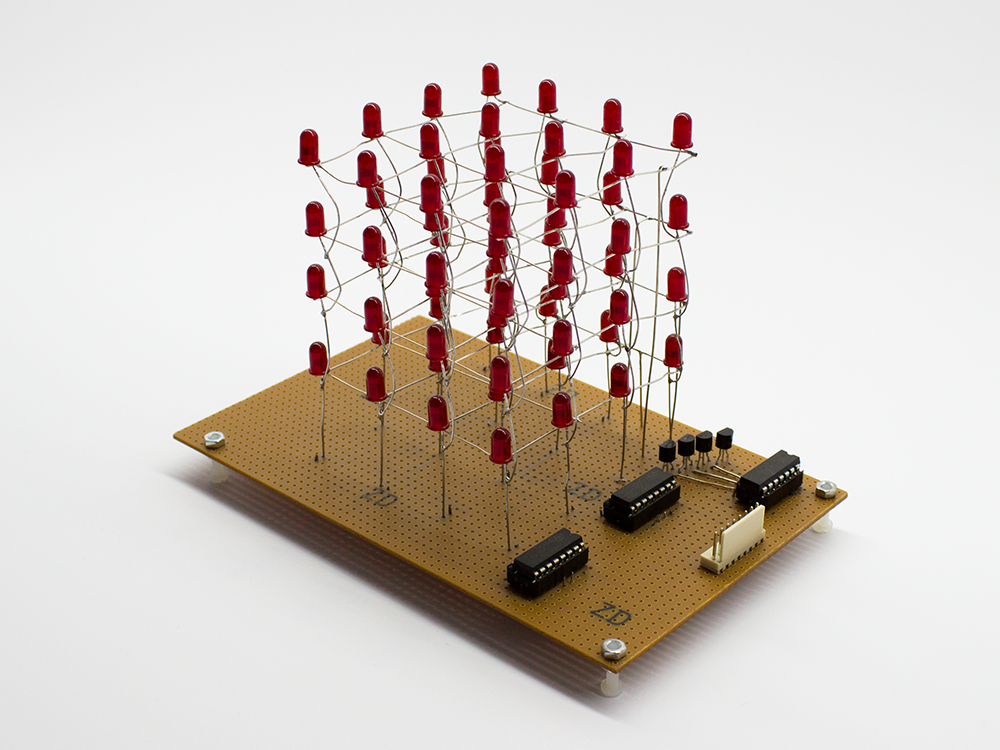
Everything started with watching a video of an LED cube and thinking it couldn't be that hard to solder some LEDs together and build one on my own.
But as it turned out not everything was that easy.
Concept behind an LED cube
On each layer the cathodes of the LEDs are connected, furthermore, all the anodes are connected vertically. This means, in the case of a 4x4x4 cube, there are 16 positive and 4 negative links. Now if one column is connected to positive voltage and one layer to ground then the LED in this column and this layer will light up. But at this point one can't turn on two individual LEDs on two different layers, the LEDs in all the positive columns where the layers are connected to ground will light up. The solution to this problem is multiplexing, so the first layer is turned on for a short time, then the next one, and so on.
Multiplexing
Click on the LEDs to see how it works.
Control the speed here:
Multiplexing in real applications is so fast that the human eye can't distinguish between the separate layers. The downside is that the LEDs appear to be darker because they're not turned on the whole time.
Electronics
With some experience in electronics but none in developing own circuits, I used (of course) an Arduino as microcontroller at the beginning.
I read about shift registers and played with the 74HC595 for a while.
One important thing I learned right at the start was that every input pin of this chip should be connected!
For example not connecting the 'enable' pin, thinking I didn't have to disable the shift register anyway, wasn't a good idea. The result was an undefined state for this pin and the chip dis- and enabled itself happily.
Two of the 74HC595 shift registers were used to drive the LEDs.
Their outputs were directly connected to the anode of the LEDs. This didn't destroy the LEDs only because the shift register uses a MOSFET in its output circuit (2nd page "input and output equivalent circuit").
MOSFET characteristic curve
This MOSFET example characteristic curve basically tells us that the more current [IDS] is flowing the higher the drain to source voltage [VDS] gets. So with enough current its much like a series resistor for the LED.
Based on the work by "CyrilB", available under the Creative Commons Attribution-Share Alike 3.0 Unported license.
But I won't do this again because I have no idea how much current is flowing through one LED so they could have been destroyed. With that I also don't know exactly how much current the base of the ground-transistor needs to turn on all LEDs. A solution would be to use a transistor for each LED with a resistor in series so the LED won't be harmed.
For testing, to select which layer should be lit, I used transistors which were connected to the ground of each layer.
Here I ran into the next misconception.
First I used the analogue pins of the Arduino because I knew I didn't have to apply the 5V to the base to saturate the transistor.
This is nonsense because:
The analogue pins of the Arduino are using PWM which means toggling between 0V and 5V.
PWM
To get a different 'equivalent analogue value' the duty cycle via TON is changed. This means the transistor also turns on and off and doesn't get any 'analogue' voltage value at all.
Example circuit
In the end I just used another 74HC595 shift register with transistors at the outputs to connect each layer with ground.
Hardware
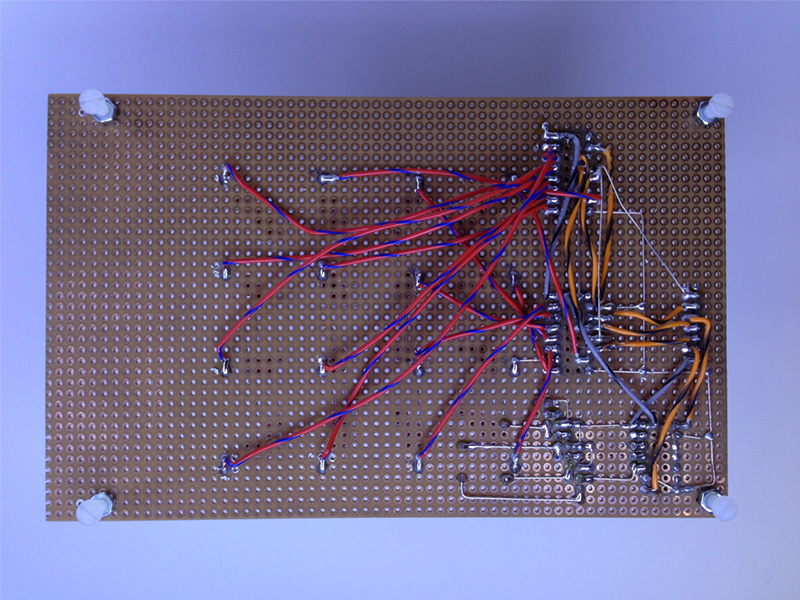
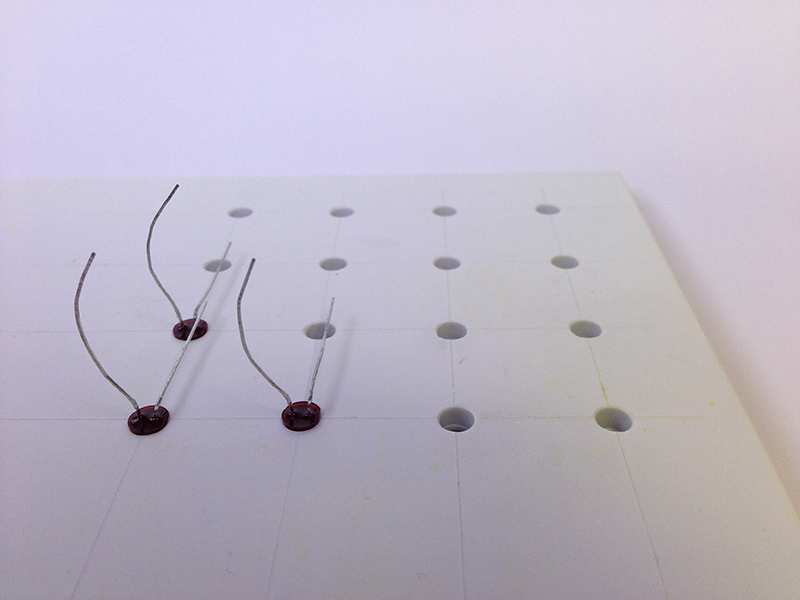
For the circuit I used a perfboard. As long as it's simple stuff a perfboard is great but the circuit for the cube was already a bit too complex, so insulated wires were used for the connection to the LEDs. The cube was soldered with the help of a mounting-mask, which was made of a plastic sheet with drilled holes in it.


Software
Because I want to understand how stuff works I coded a library myself (I can only recommend this) and didn't use an existing one. My goal was to give my code a coordinate and the right LED would turn on.
At the beginning coding a function for multiplexing the layers makes sense.
The function takes 8 x 8bit, that represents the LEDs in the cube and handles how long one frame is turned on.
After that I had to figure out which output of the shift registers goes to which LED.
To give my code coordinates, another function is needed with a 3-dimensional array, that translates the coordinates into positions in a 64 digit long number (for the 8 x 8bit for the multiplexing function).
Now that I could address each coordinate, I wrote some animation functions. After that I wanted something more exciting, something with music. I found a Processing library called minim which is able to detect beats. Now there is only the communication between Processing and Arduino left and the beat visualization is good to go.
Lessons learned
- Connect all input pins of this shift register.
- Use transistors with resistors or something similar to ensure a defined current for all the LEDs.
- The analogue pins of an Arduino don't really deliver analogue values instead they use PWM.
