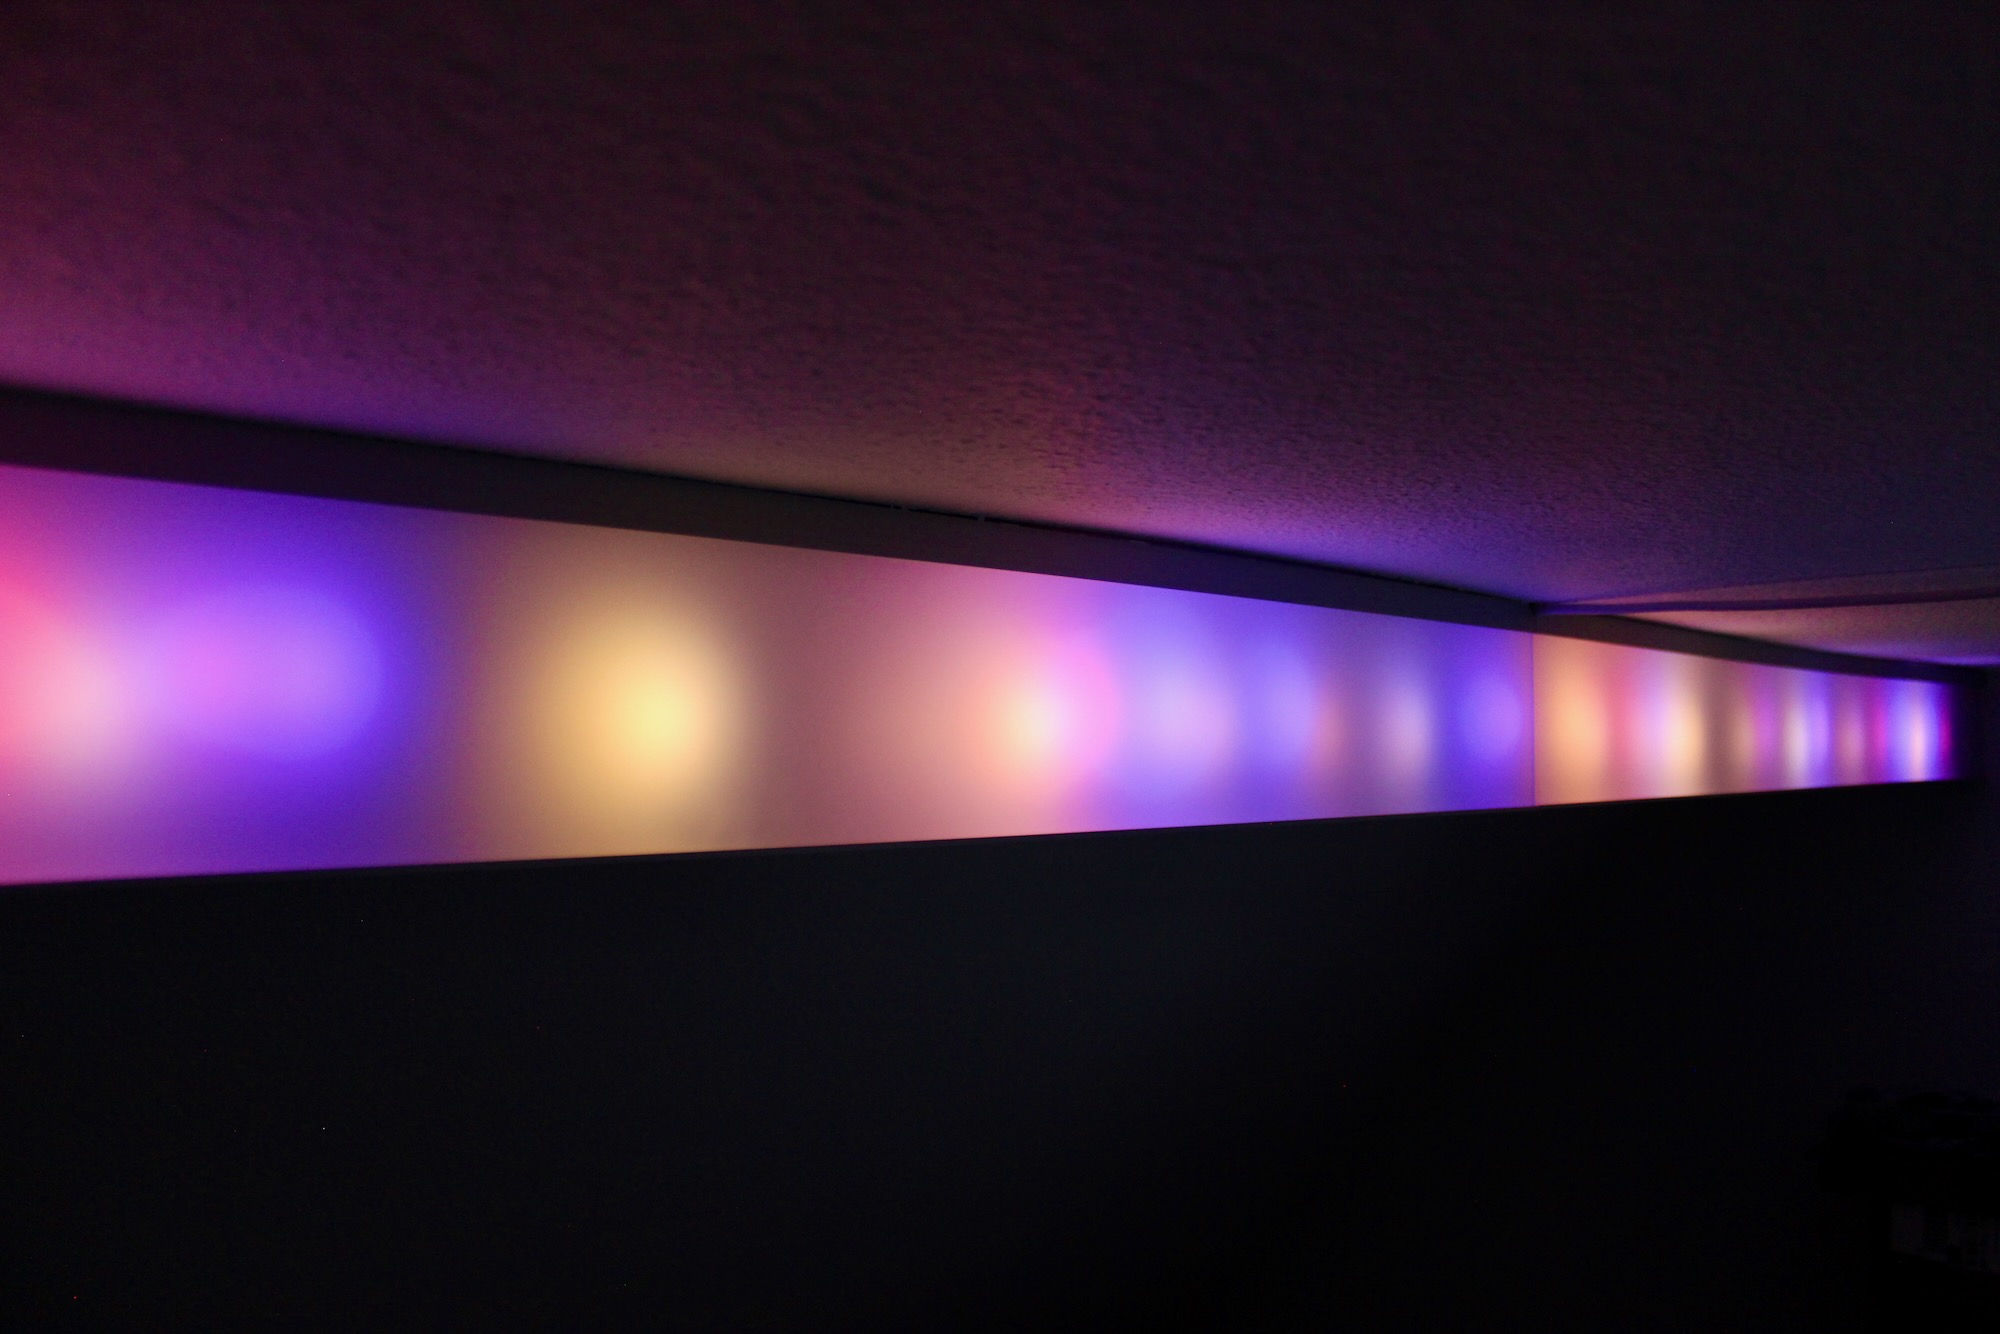
This project explores the redesign and modernization of my custom-built LED ceiling lamp. Twelve years ago, I embarked on a project to create a unique lamp for a room with a two-level ceiling. The original design featured a 3-meter long RGB LED lamp with an aluminum enclosure mounted on a ceiling ledge. However, the quality of white light produced by the RGB LEDs left much to be desired. Additionally, over the last decade, LED technology has advanced, and I wanted to learn about and take advantage of the latest developments. All this led me to rethink and upgrade the entire installation.
Motivation and Goals
The aim was to maintain the lamp's playful nature while bringing in better light quality and updated technology. I set out to:
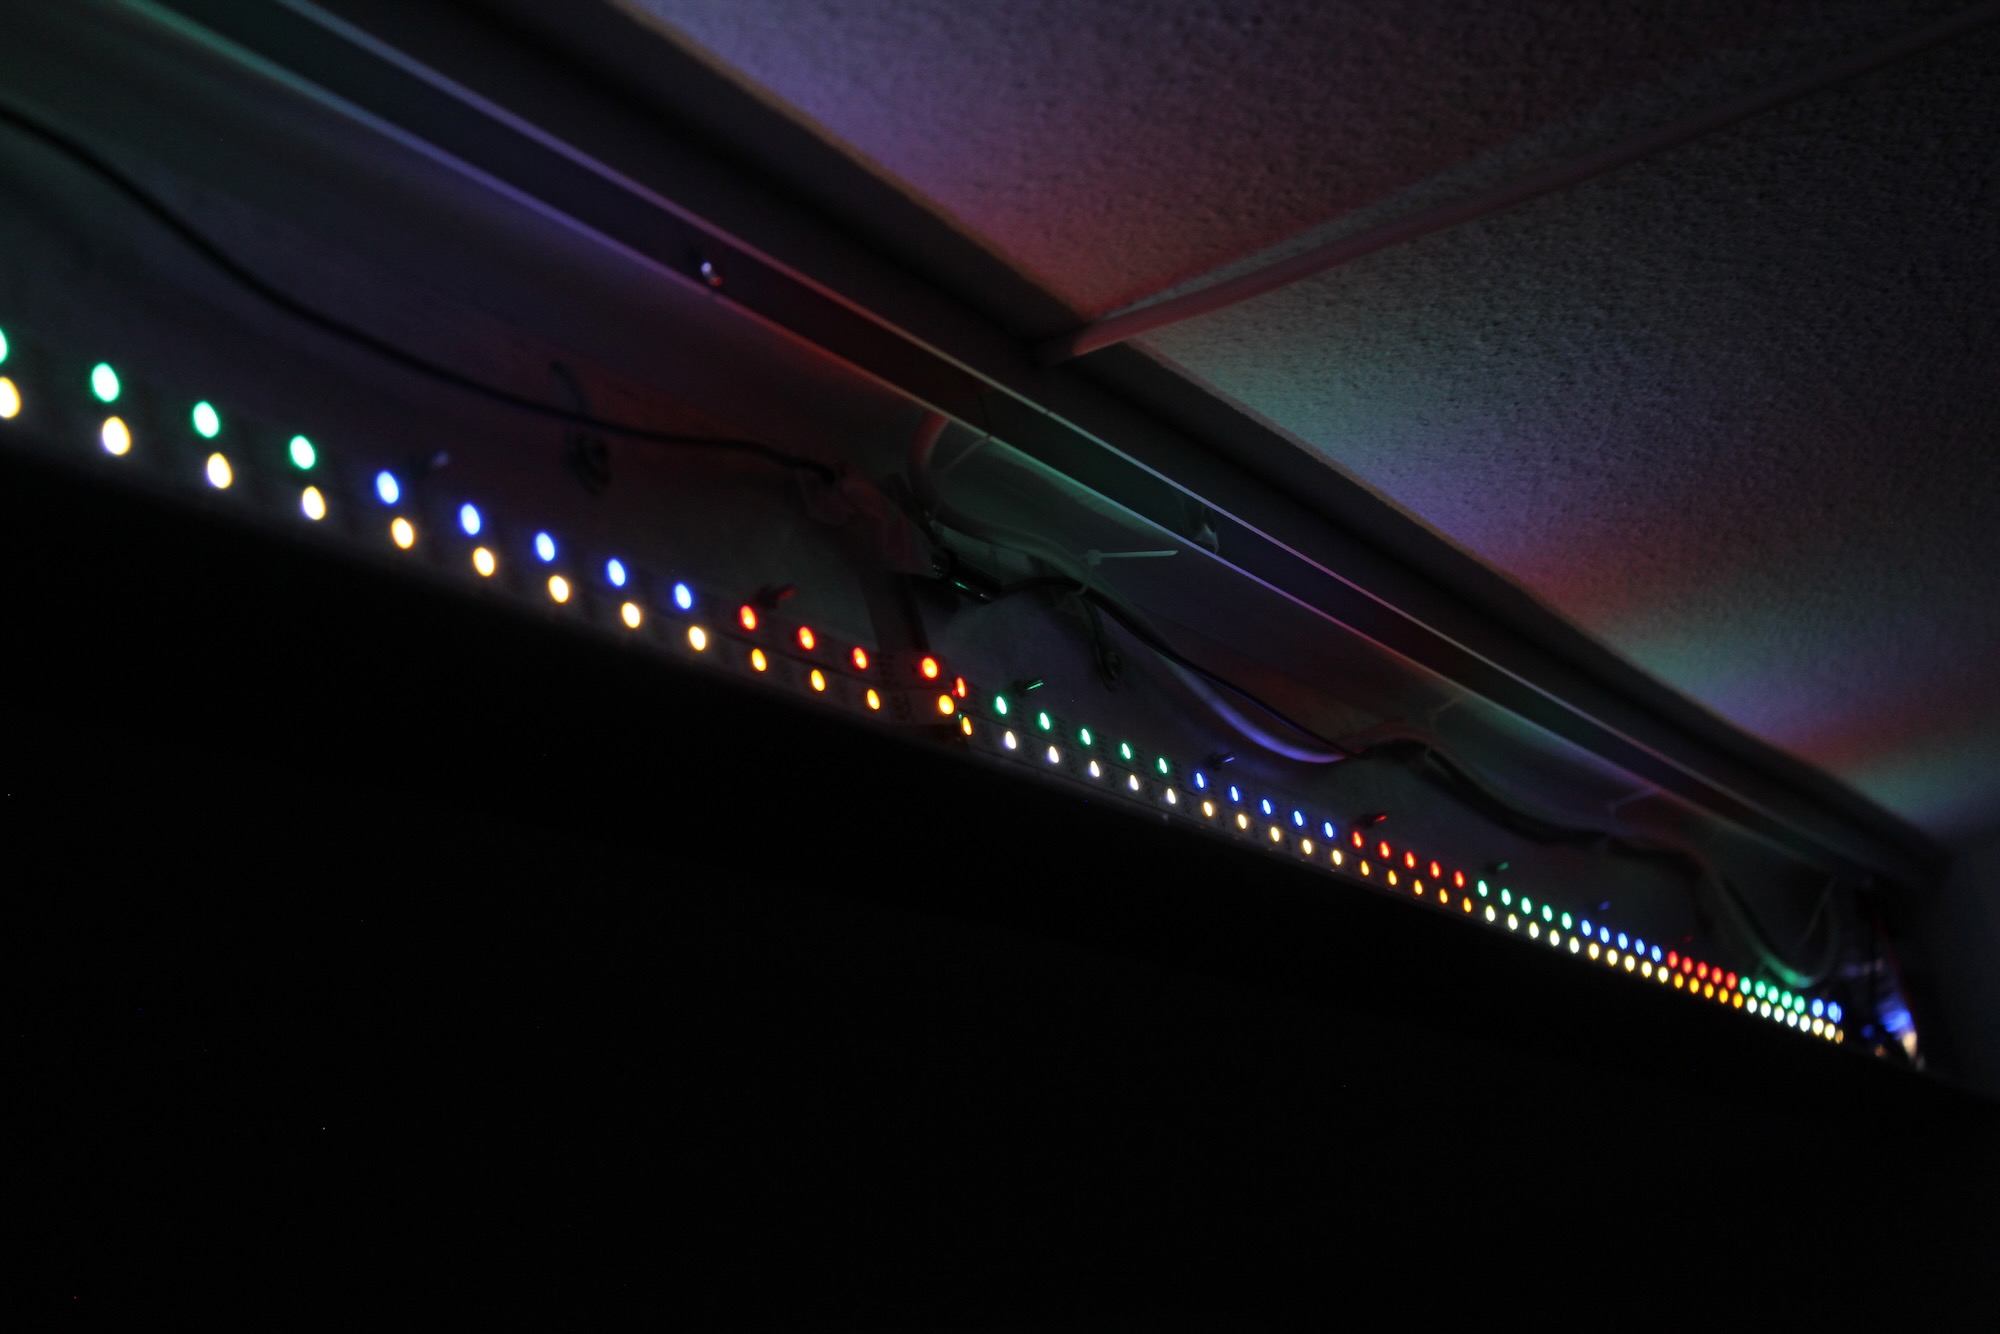
- Preserve the ability to control each LED individually, preserving the playfulness.
- Improve the quality of white light over the previous RGB-only setup.
- Refresh the electronics to incorporate current technology and enhance functionality.
Technical Upgrades and Solutions
Choosing the Right LEDs
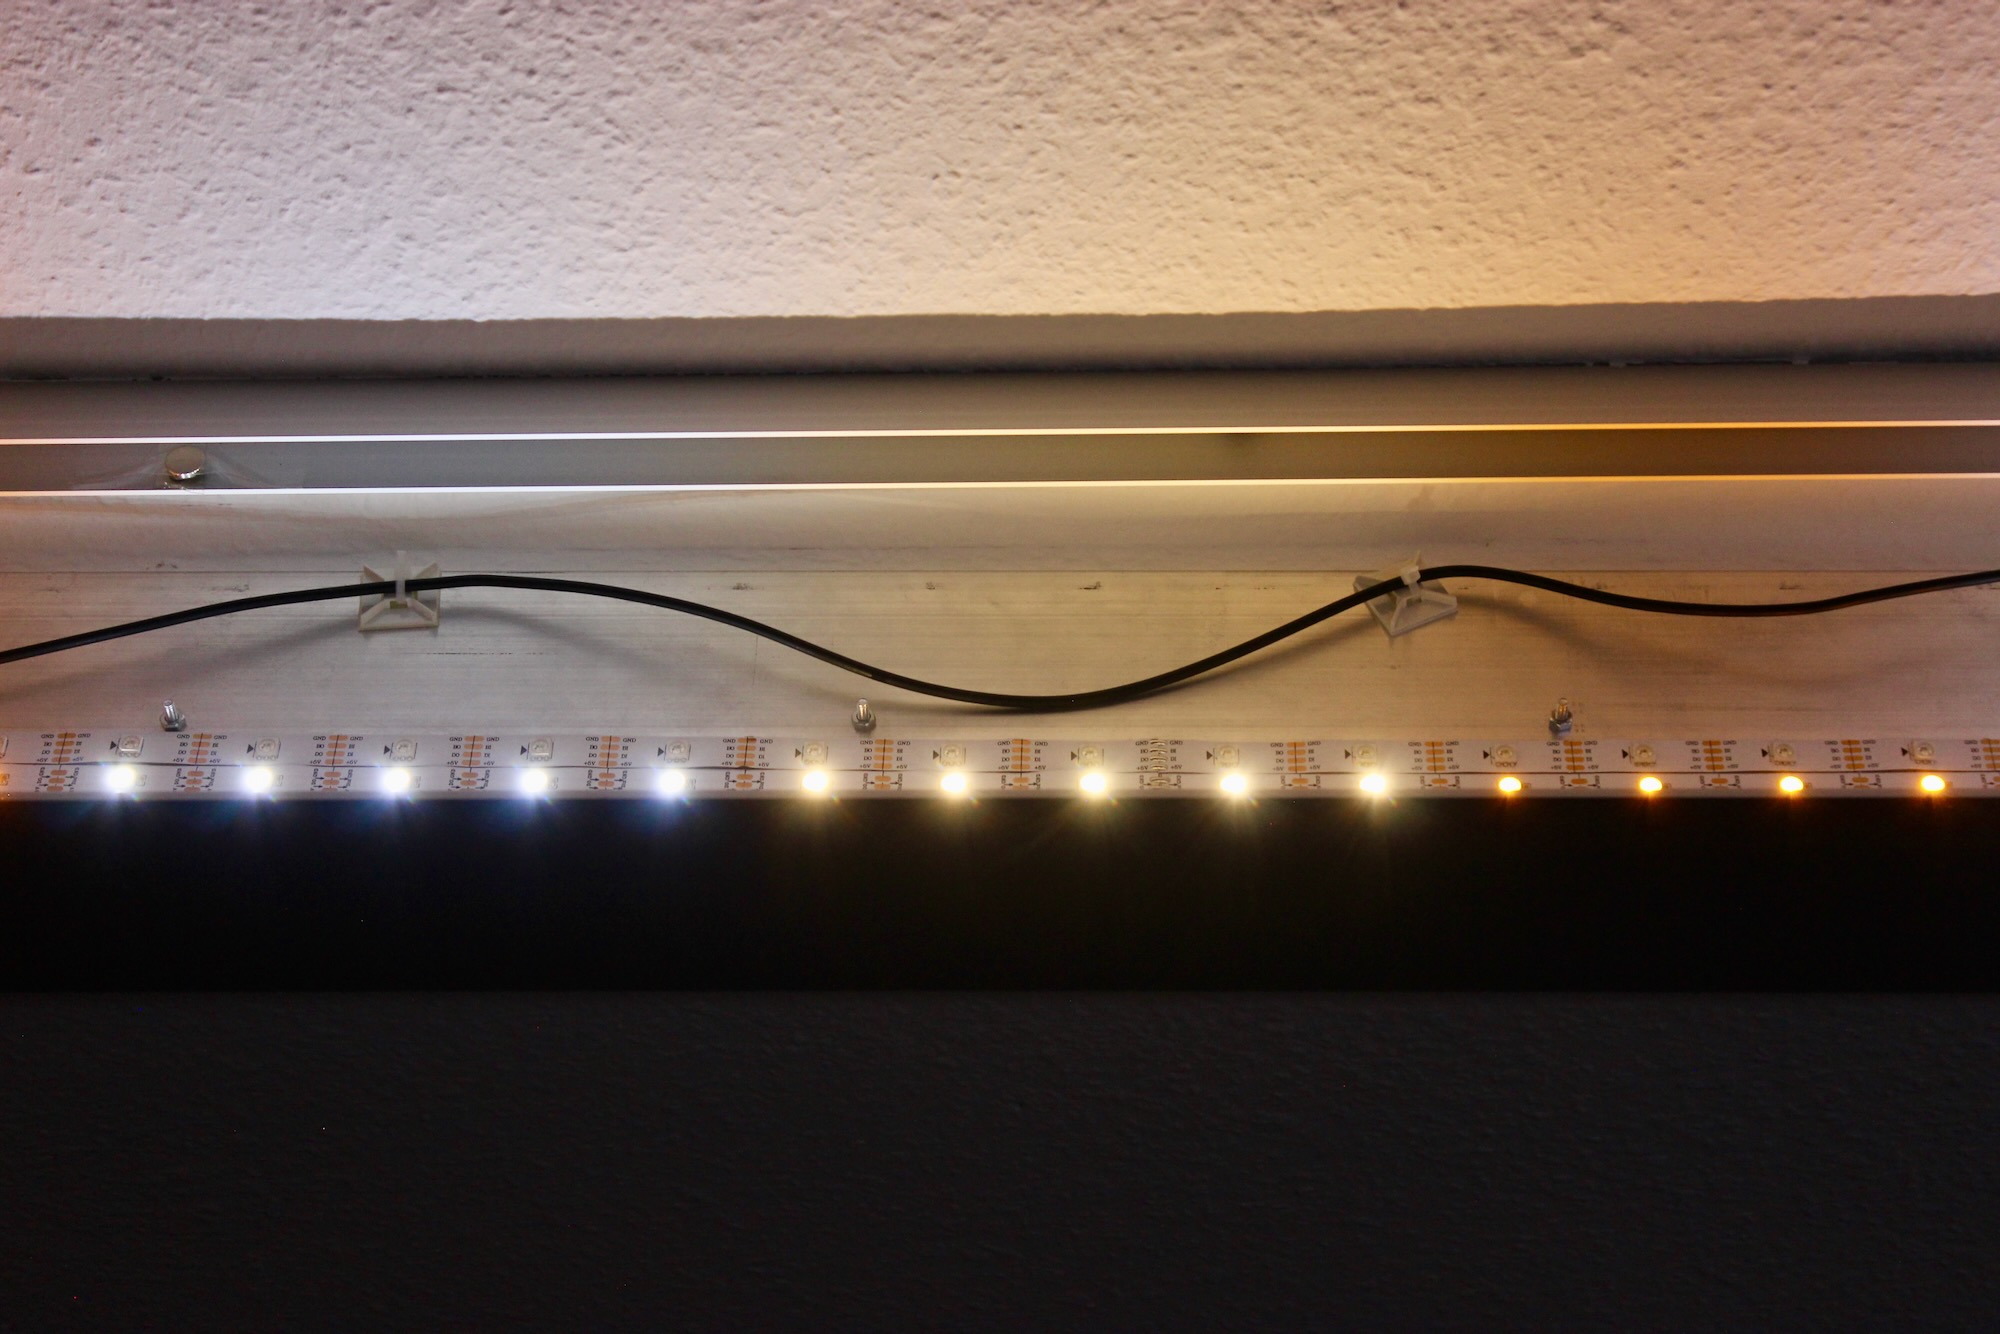
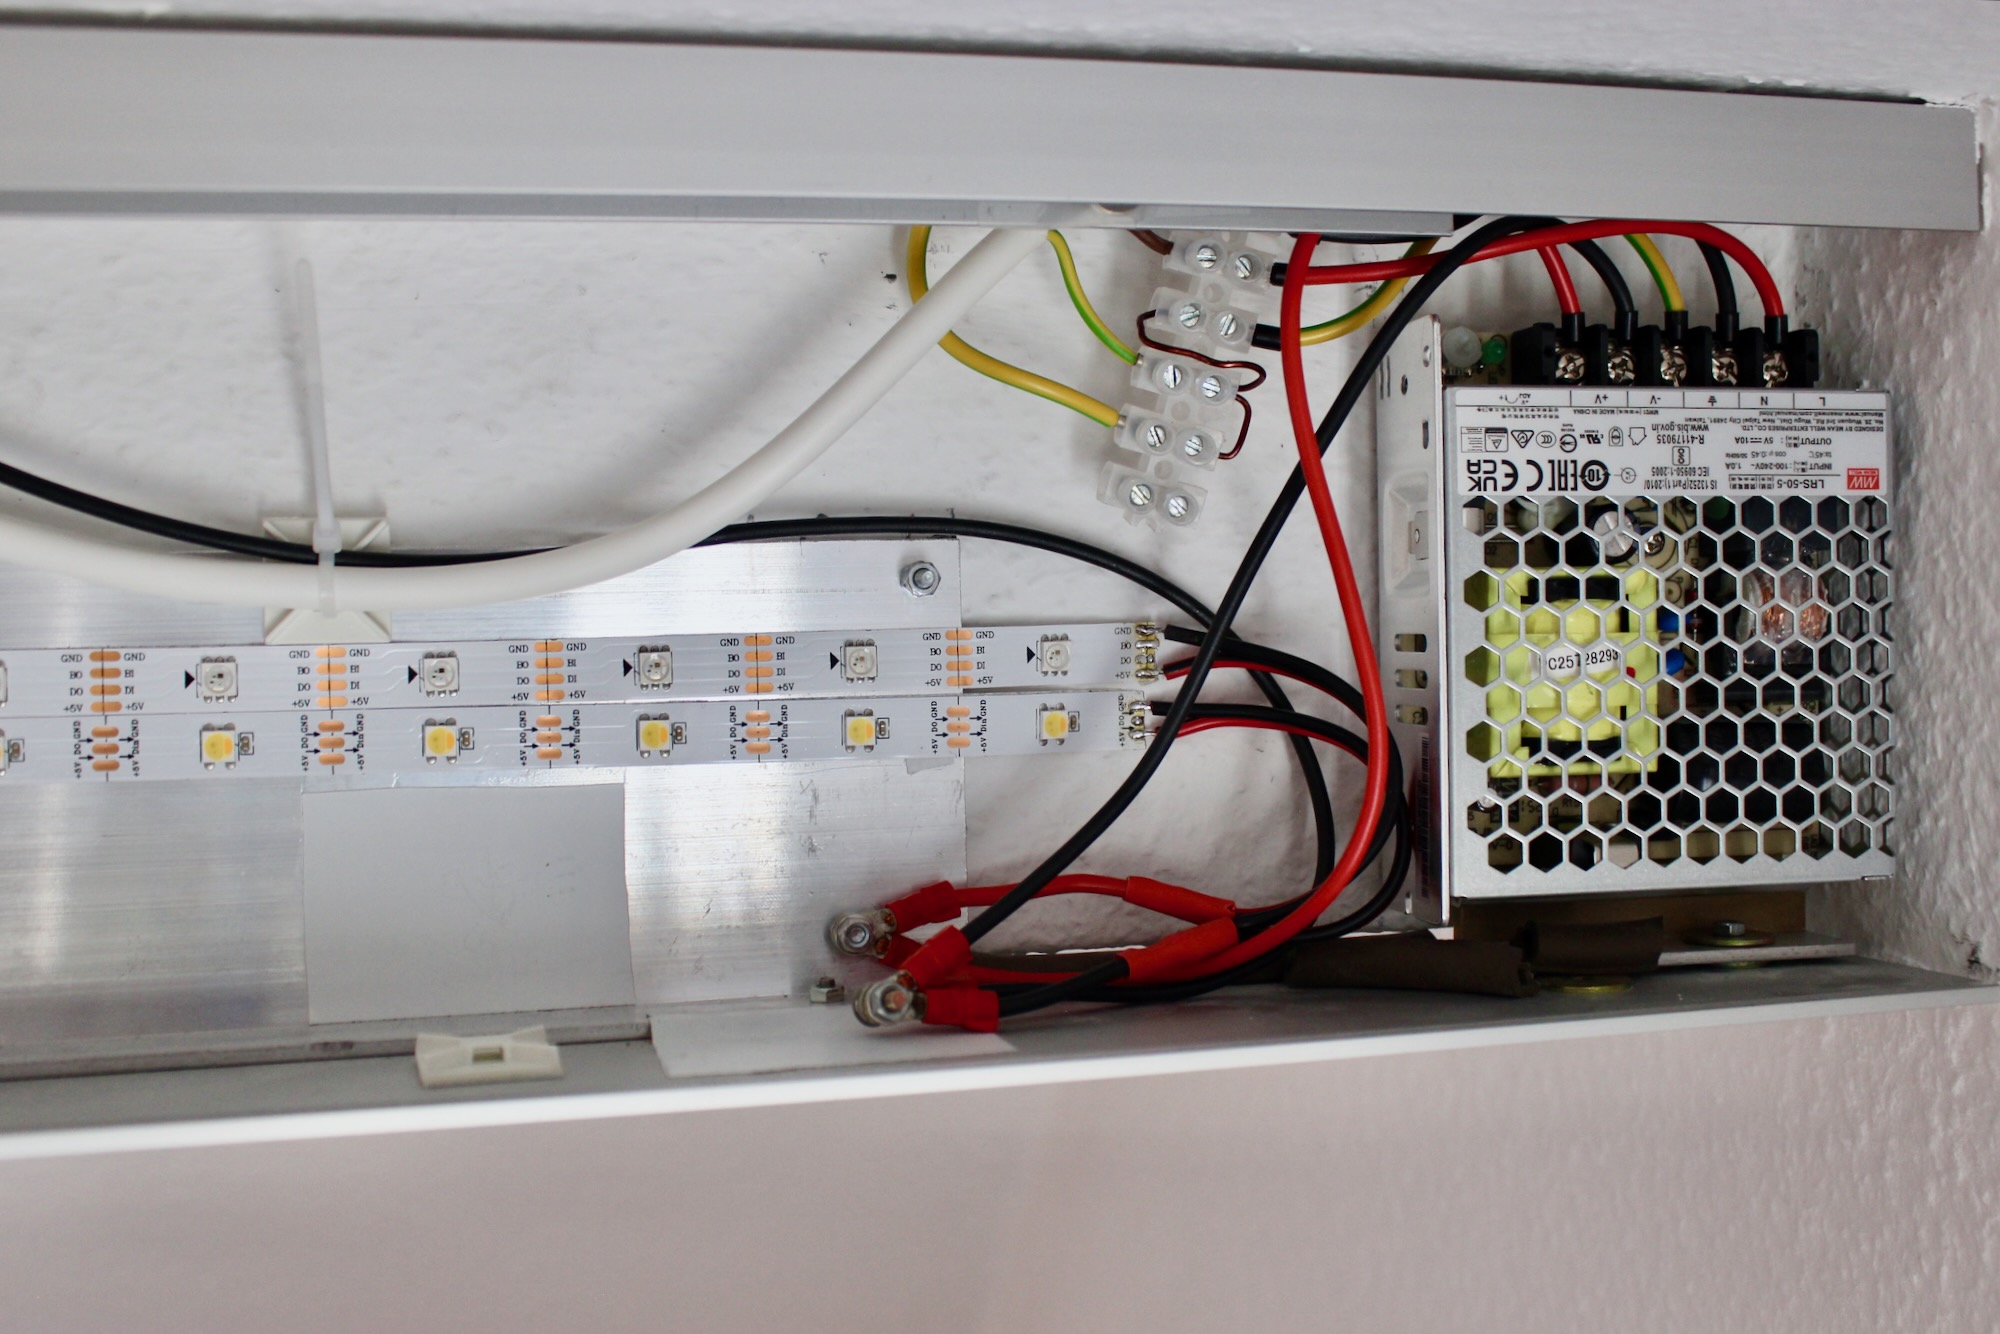
To achieve a more pleasing and even white light, I selected an SK6812 WWA strip in combination with a WS2813 RGB strip, each with 30 LEDs per meter. The RGB strip preserves the ability for colorful effects, while the WWA strip delivers a full spectrum of white light—providing individual LEDs for cold, warm, and amber tones. An interesting feature of these strips is their ability to be controlled with just one data line. This simplifies the wiring, as each LED can receive data, set its color, and then pass the remaining data to the next LED in the sequence. Notably, some models like the WS2813 also include a second backup data line to enhance reliability.
Updated Control System
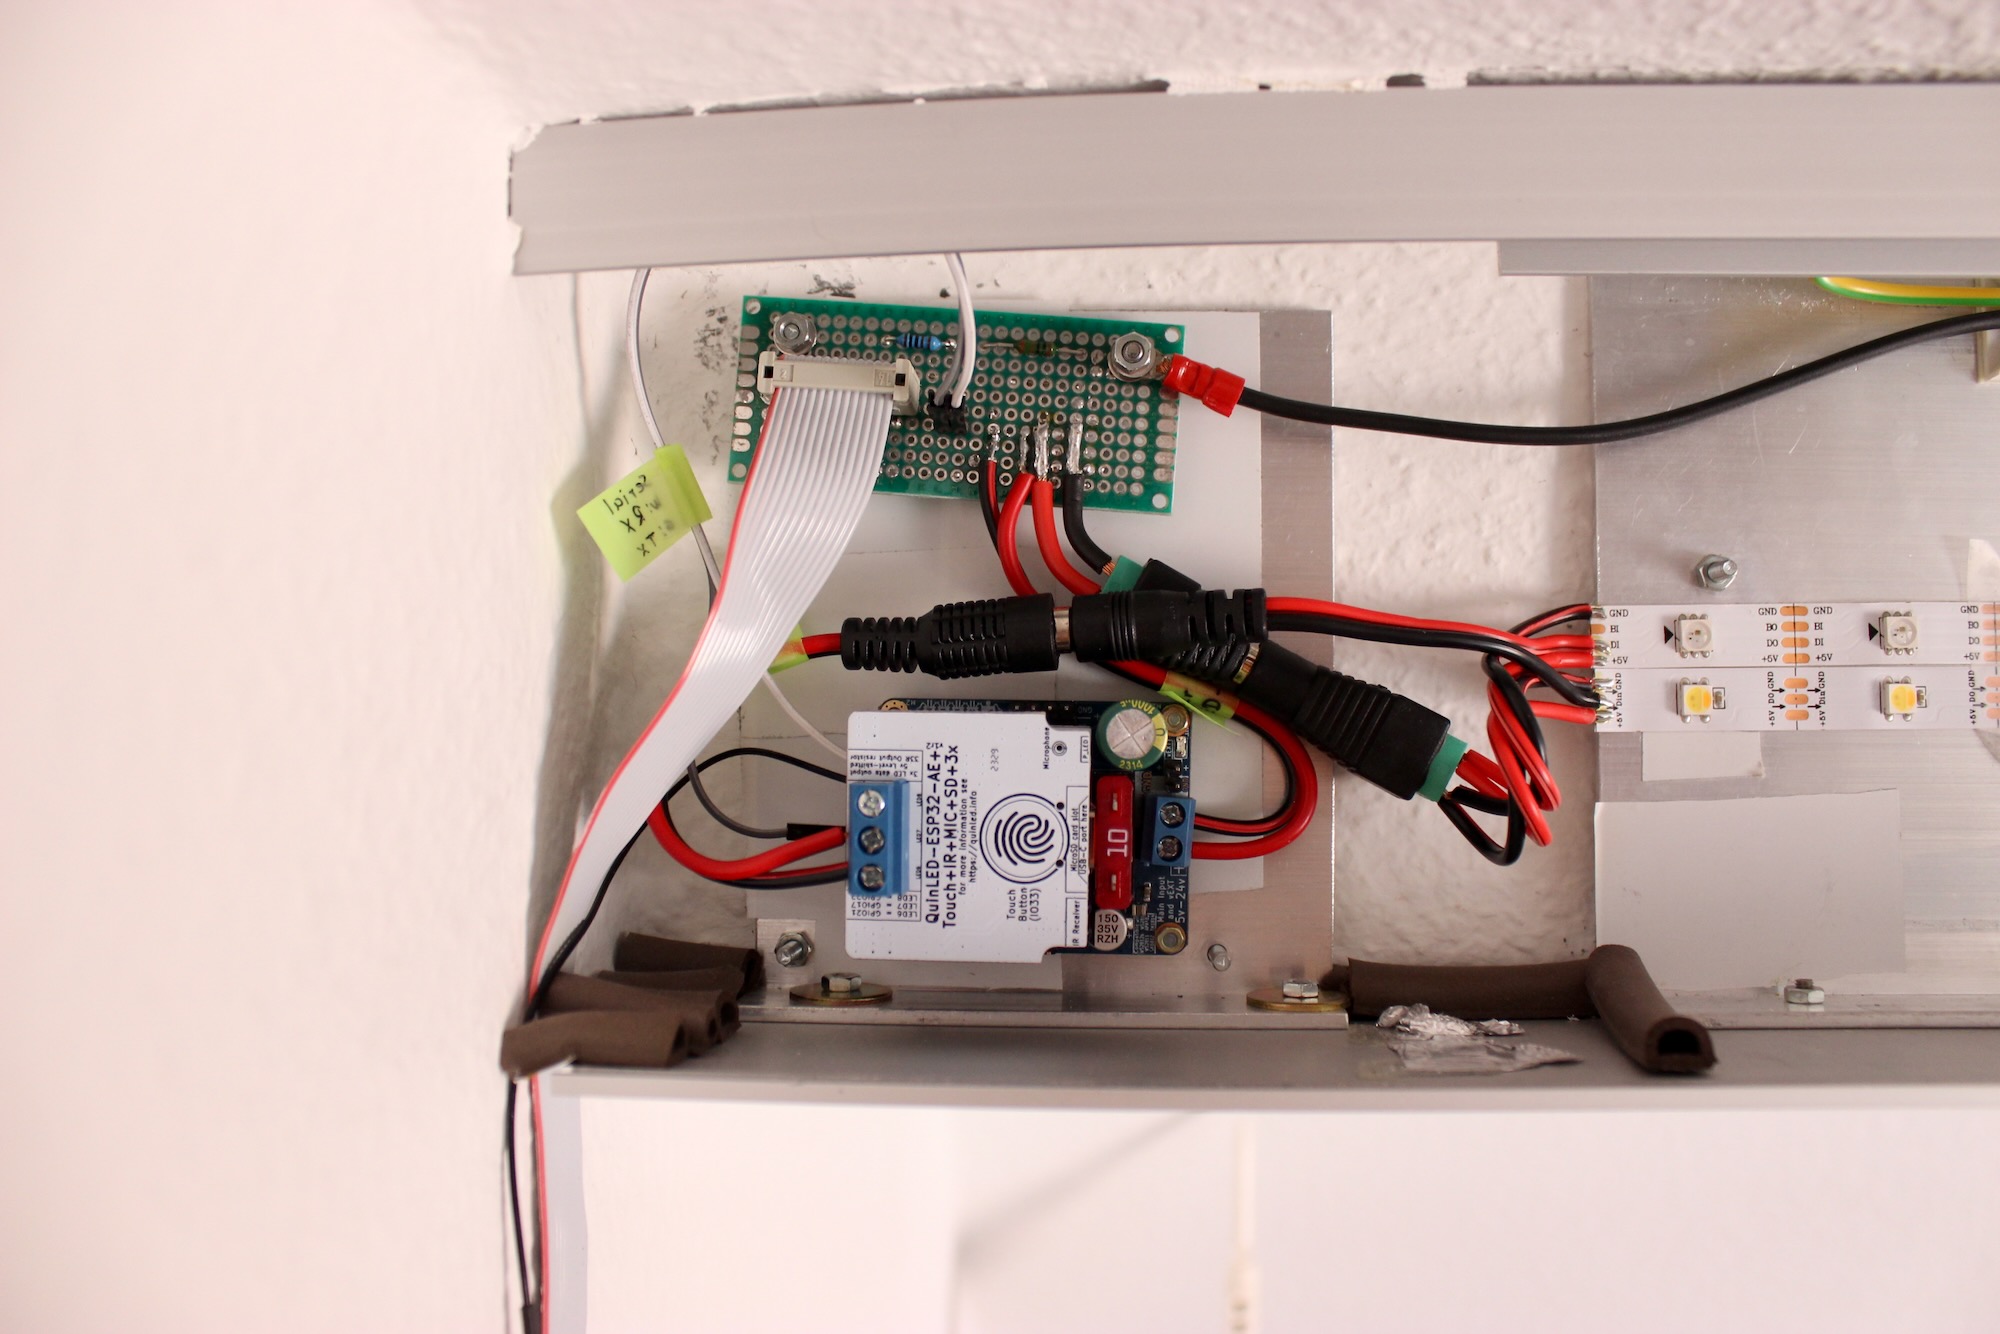
At the heart of the new setup is the QuinLED Dig Uno board combined with a QuinLED-ESP32-AE+ shield. This system is based on the ESP32 microcontroller with Wi-Fi connectivity, running the WLED firmware. The shield adds additional features like an IR receiver, extra LED channels, and a microphone for audio-reactive features. This enables users to interact with the lighting system via a website, a mobile app, or an IR remote, making the system flexible and user-friendly.
Integration with Existing Control Unit
A significant part of this project was integrating the new system with my custom-built control unit, which features a touch interface for the lamp powered by an Atmega328 microcontroller—the same chip used in Arduino Uno boards. The control unit now interfaces with the QuinLED board through serial communication, modified to handle the voltage differences between the Atmega328 (5V) and ESP32 (3.3V) using a voltage divider for the RX line and a level shifter for the TX line. A custom PCB functions as an adapter for this data communication and as a power distributor on this side of the lamp.
The control unit's firmware was updated using PlatformIO, incorporating the SoftwareSerial library, as the only available hardware serial interface was used for USB communication. The color and brightness commands are now sent as JSON to the WLED firmware, using two lines of the existing ribbon cable that connects the control unit with the lamp. A challenge was the effective control of different white tones given the limited number of touch sliders. To manage the six LED channels (RGB and WWA) using the four touch sliders, the white slider was programmed to adjust all three white LEDs at once. However, for more specific adjustments of the white channels, users can interact with the RGB sliders while holding the white slider. Beyond standard lighting controls, special touch gestures were programmed to activate specific WLED effects, adding an extra layer of interaction.
Adjusting the serial communication baud rate was necessary to ensure compatibility with the SoftwareSerial library used on the Atmega328. Despite initial challenges with the serial communication, including incorrect silkscreen labeling on the QuinLED board, these were overcome by manual adjustments and re-wiring, detailed in this GitHub issue.
Power Supply
Switching to a 10A/50W power supply addressed the increased energy demands of the new LEDs. While gradually increasing the WLED's “Maximum Current” setting, I eventually noticed significant voltage drops that caused the microcontroller to restart unpredictably. The initial setup supplied power only to one end of the LED strips through the custom adapter PCB, causing voltage drops along the way. By adding a power injection point at both ends of the strips, I managed to stabilize the voltage.
Conclusion
This upgraded lamp now not only lights up the room with much better white light but also keeps the interactive, fun aspect alive. It's been a fascinating journey diving into the latest in LED technology and control systems. Though there are LEDs with higher CRI values out there, this setup strikes a good balance between performance, cost, and ease of use.